
The Look and Feel options in Ableton 11 allow you to customize how the software appears and behaves. These settings are primarily personal preferences, so feel free to experiment and find what works best for you.
Language and Behavior
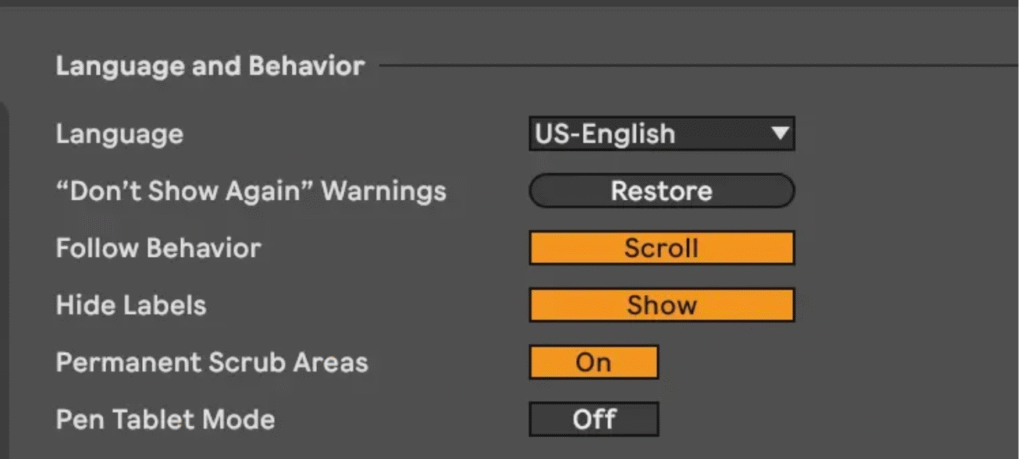
Language
Choose the interface language that suits you best. This ensures all text and menus appear in your preferred language.
“Don’t Show Again” Warnings
Ever get tired of seeing the same confirmation pop-ups? Ableton lets you silence these warnings with a simple “Don’t show again” option. But if you change your mind, the “Restore” button is your reset button – it’ll bring back all those confirmations you’ve previously dismissed, giving you a clean slate.
Follow Behavior
When you are in the arrangement view and playing a track that extends beyond the size of your window, you can instruct Ableton to ‘follow’ the track as the playhead (the line that indicates the exact current position in the timeline) moves outside of the visible window.
When this option is set to ‘Scroll’ the window will scroll smoothly along with the playhead
When this option is set to ‘Page’ the window will page when the playhead reaches the visible range of the window, essentially showing you the next visible section of the track
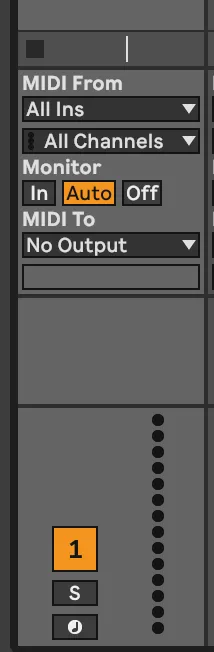
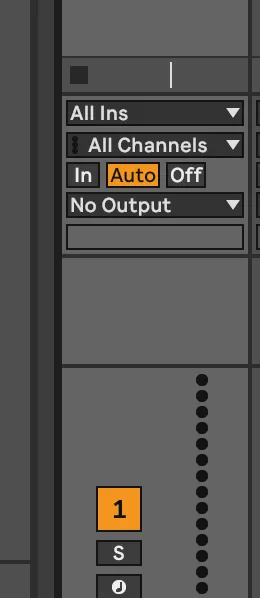
Hide Labels
Hiding the labels will decrease the amount of labeling that is seen on the mixer area.
In the images to the left, the left hand mixer area is showing labels whereas the right side is hiding labels.
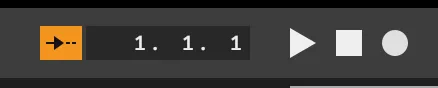
Permanent Scrub Area

There is a small area below the beat time ruler called the ‘Scrub Area’. When you click on this area, the playhead will instantly jump to that position. If the track is currently playing, it continues playback from that point.
By holding your mouse button down after clicking, you can drag left or right to scrub through the track, allowing you to preview the audio under the playhead in real-time.
The Scrub Area has two interaction modes:
- When enabled, the playhead is always active , clickable and draggable
- When disabled, you’ll need to hold the shift key before clicking and dragging to enter scrub mode
Personally, I prefer keeping this option off. This prevents accidental playhead movement, which can disrupt your workflow.
Pen Tablet Mode
If you are using a touchscreen device to interact with ableton, turning this on is reported to make it easier to interact with the screen with your finger, or stylus. This is an option I have never used.
Track and Clip Colors
Before we go into this section, I think it is important to define the difference between a track and a clip in Ableton.
Track
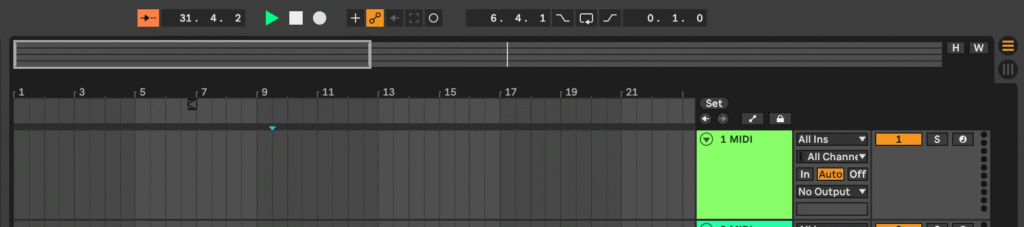
A track is the continuous horizontal line of audio in the Arrangement View. In the image above, you can see my green MIDI track. More specifically, the entire space extending out to the left of the green box represents the track.
Clip
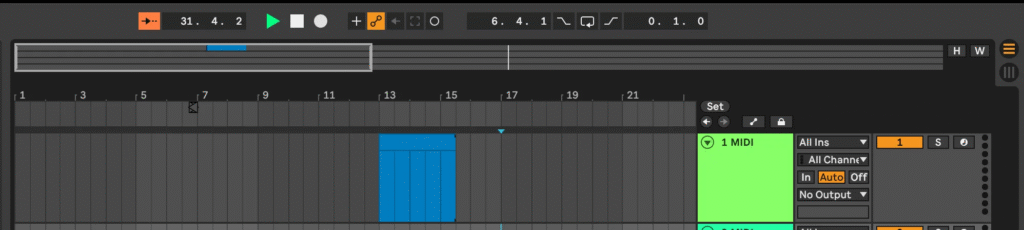
A clip in Ableton is a single grouping of audio or MIDI. Clips are contained within a track or can be used individually in the Session View. In the image above, you can see a blue clip inside my green track.
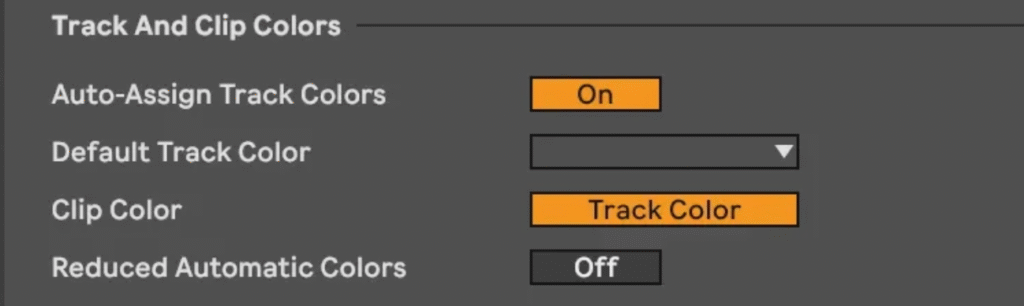
Auto-assign Track Colors
When this is enabled, each track you make will automatically be assigned a color. If it is off, the track will be assigned the color that is set in the Default Track Color dropdown menu.
Default Track Color
When auto-assign track colors is disabled, this is the color that will be set when new tracks are created.
Clip Color
If this is set to the track color, any new clip made in this track will inherit the track color. If this is set to Random, the color used for the clip will be chosen at random.
Reduced Automatic Colors
The color palette for automatic track coloring is quite extensive. This allows Ableton to use a wide array of colors when assigning track colors. For example, track one might be pink, track two could be light pink, and track three might be a slightly different shade of pink. The result? Colors that are randomly chosen can end up looking frustratingly similar.
By enabling “Reduced Automatic Colors”, you limit the color palette. This ensures that each track gets a more distinctly different color, making it easier to visually distinguish between tracks at a glance.
Display Customization
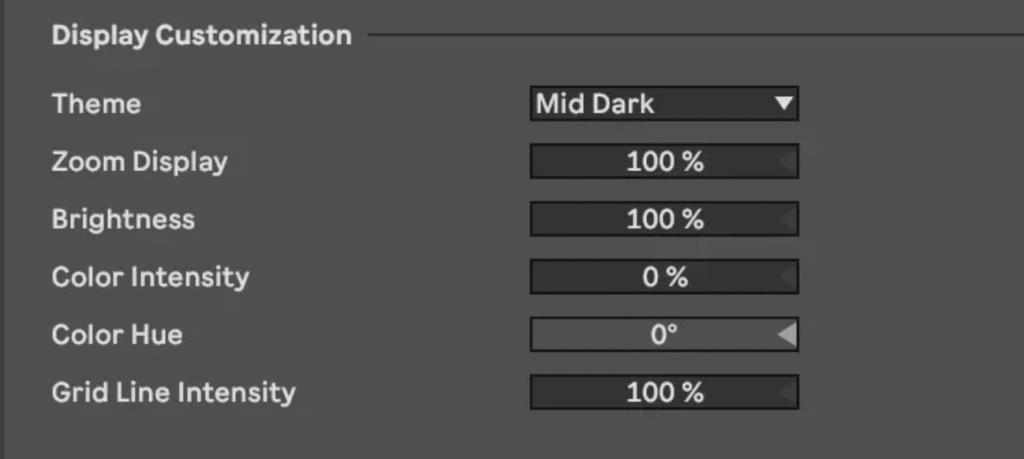
Theme
A theme is the overarching color scheme of Ableton. Select whichever one suits you.
Zoom Display
This allows you to increase or decrease the scale of what is displayed on your monitor – essentially making more or less fit onto your screen.
Brightness
Raises or lowers the overall brightness of Ableton’s interface
Color Intensity
Changes the intensity of the specific color hue that is selected below
Color Hue
Change the hue of Ableton’s interface
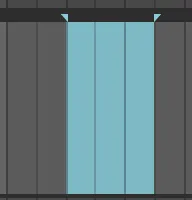
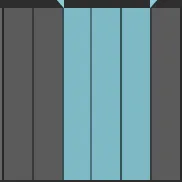
Grid Line Intensity
The grid line intensity will change the visibility of the individual gridlines. This option can be very helpful for folks who need a little extra definition to make things easier to see.
In the two images to the right, the left side has the default grid line intensity, while the right side has 200% intensity. This setting can be pretty intense – adjust according to your own preferences.
Final Thoughts
These Look and Feel preferences are all about personalizing your Ableton experience. Don’t be afraid to experiment and find what works best for your workflow.
Coming Up Next: We’ll dive into Audio preferences and their impact on your production setup.
Comments
One response to “Ableton 11 Preferences: Look and Feel”
[…] Look and Feel […]